You have lost a tooth and the first question that comes to mind is how long it will be before you can eat and smile normally again? The stages of a dental implant stretch over several months, and the answers you hear from friends and acquaintances differ completely, from a few weeks to almost a year.
You don’t know what to do about your holiday or the family wedding, because nobody has told you clearly how many steps you will go through and how long each one takes. If you put off replacing the tooth for a long time, the bone in that area gradually begins to resorb, which can make the treatment more complex.
Below you will find the whole journey, in chronological order, with what actually happens at each step, roughly how long it takes and what depends on your particular situation.
Why the stages of a dental implant stretch over several months
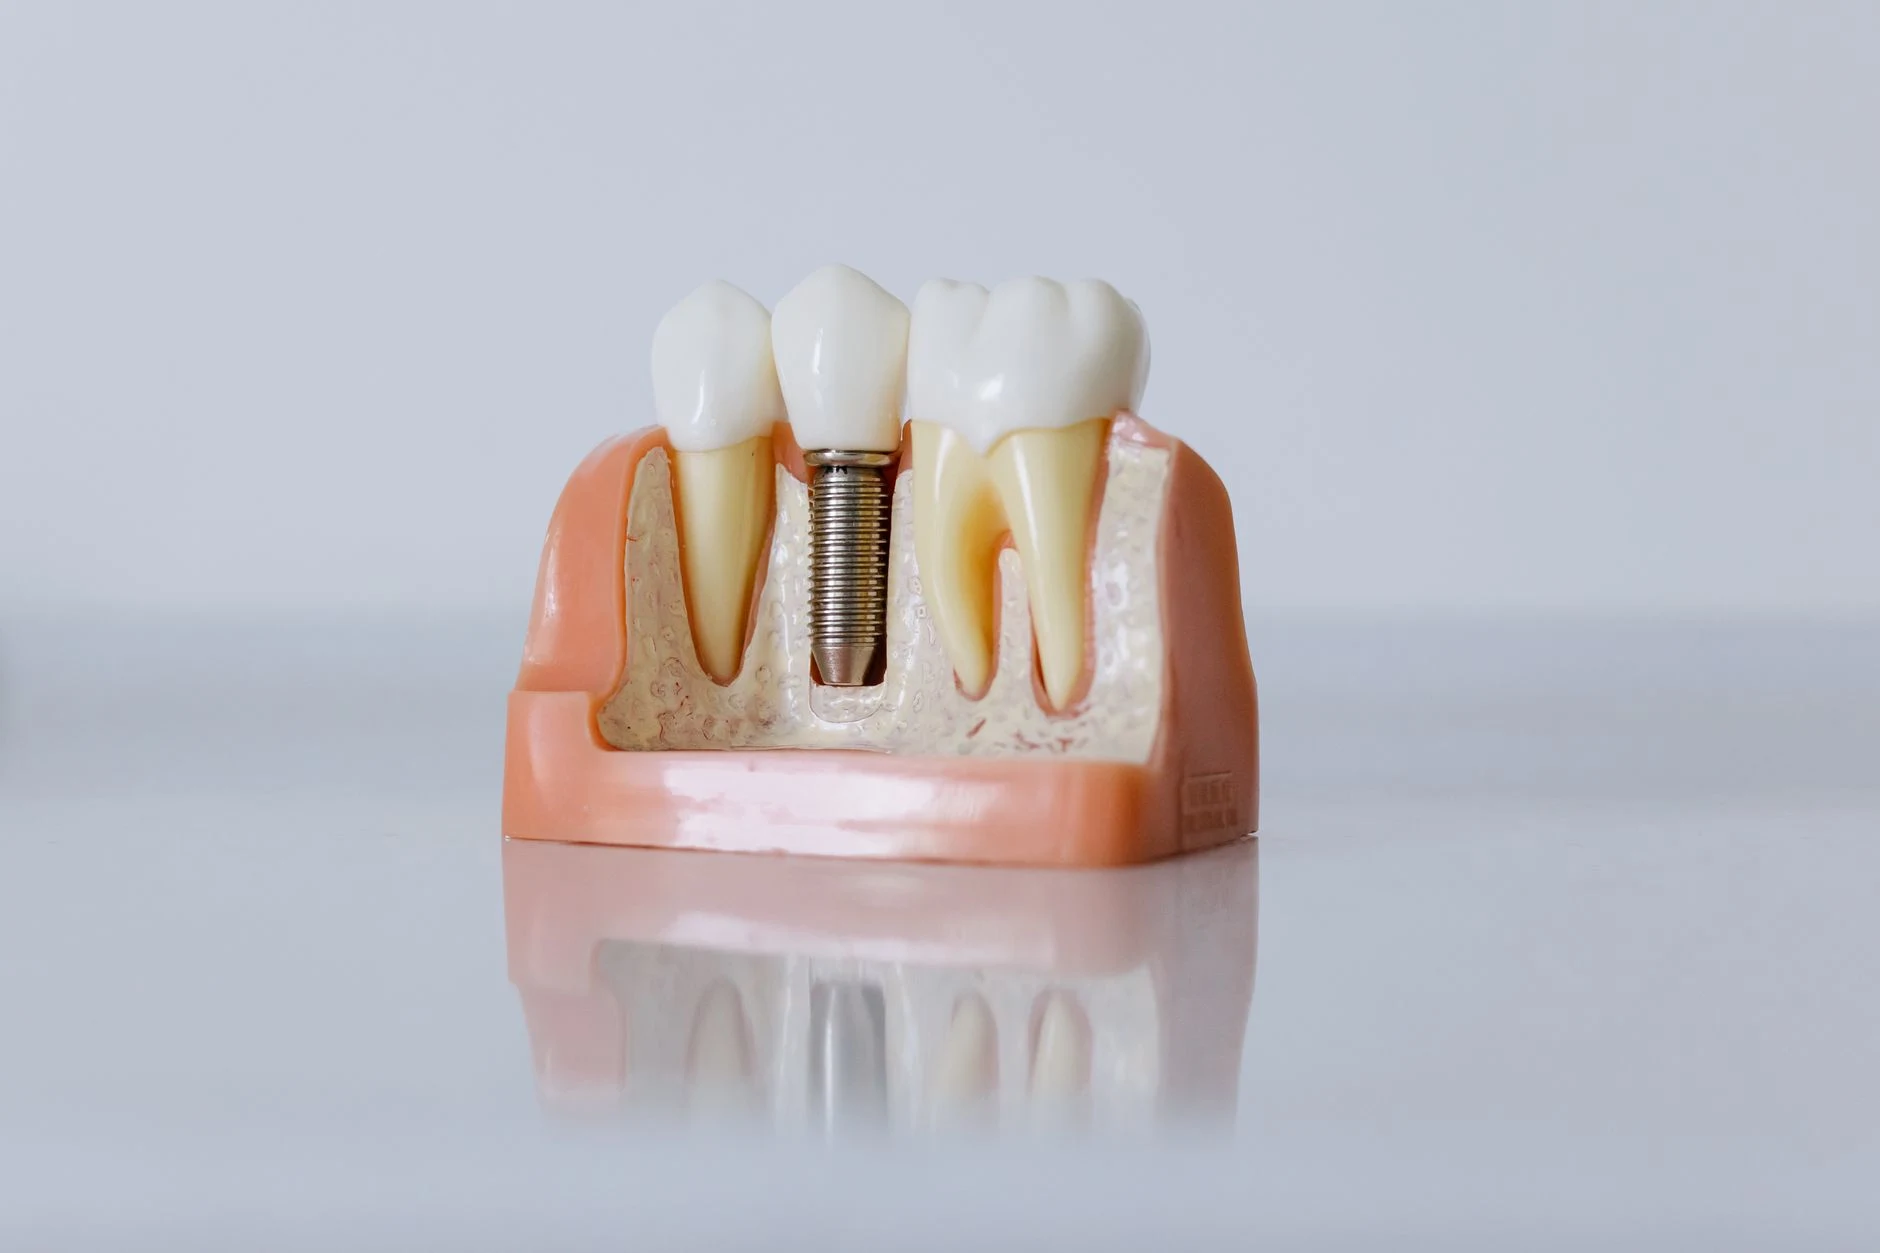
A dental implant cannot be completed in a single visit, because between screwing the implant into the bone and fitting the visible tooth, a biological process has to take place that cannot be rushed. The titanium screw needs time for the bone to grow tightly around it and fix it permanently. Until then, any chewing force applied to it risks compromising the whole treatment.
Meanwhile, the empty space is working against you. The bone that supported the lost root no longer receives stimulation from chewing and gradually resorbs, meaning it decreases in height and width. At the same time, the neighbouring teeth tilt towards the free space, and the tooth in the opposite arch begins to drop down or move up into the gap. The more time passes, the more complicated the case becomes and the greater the chances that you will need additional steps.
The number of stages varies greatly from one patient to another. Someone who comes in shortly after losing the tooth, with enough bone and healthy gums, follows a short path. By contrast, a patient with an infected root still in the arch, thin bone or untreated gum disease needs preparatory procedures that add a good few months. That is why a realistic timetable can only be drawn up after an assessment with imaging, not on the basis of a general estimate.
The initial assessment and the treatment plan
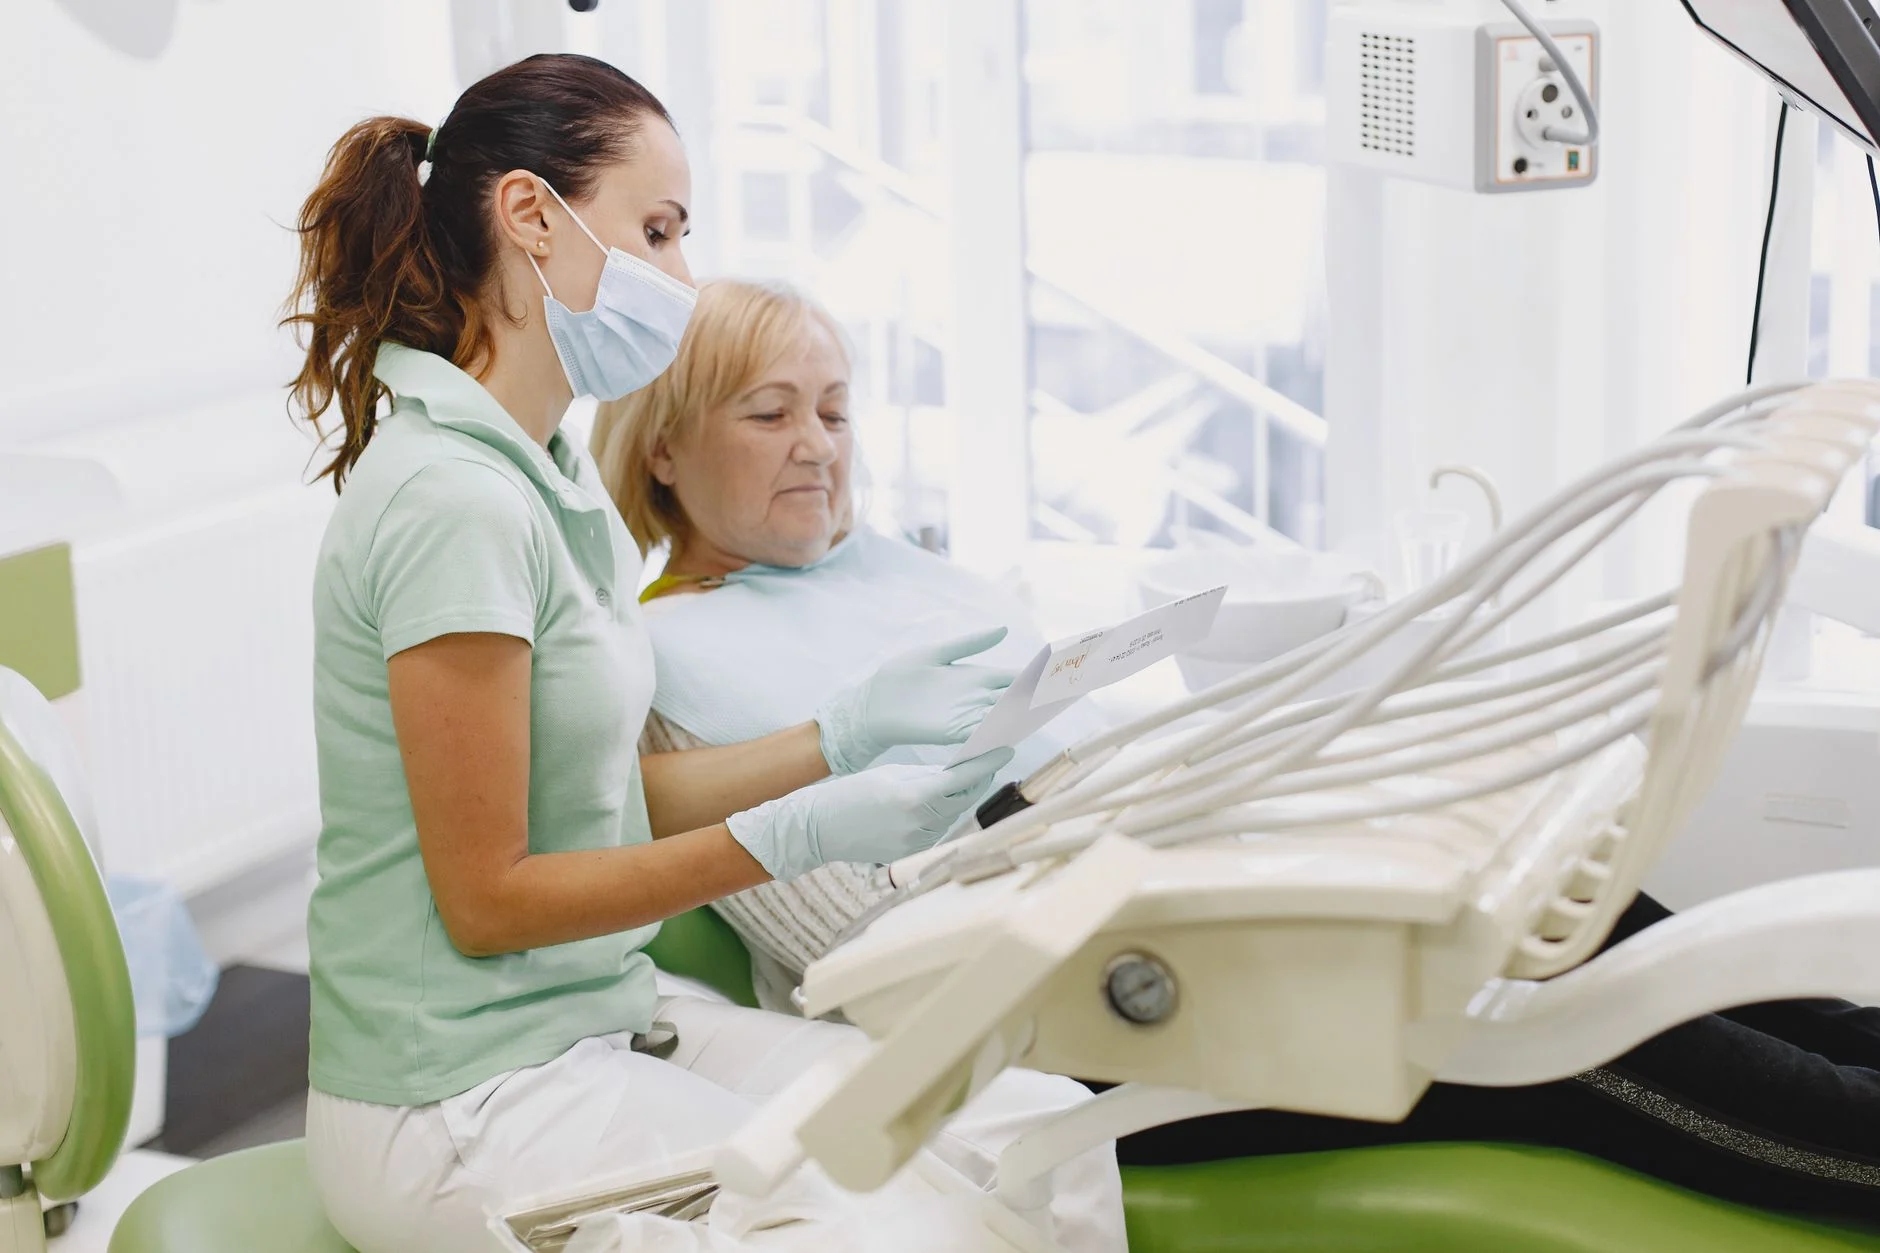
The initial assessment is the consultation at which it is decided whether and how the implant can be placed, and its concrete outcome is a written treatment plan. At the first visit, the doctor asks how long the tooth has been missing, what general health conditions you have, what medicines you take regularly and whether you smoke, then clinically examines the arches, the condition of the gums, the neighbouring teeth and the way your jaws close together.
Next comes the imaging. A cone beam computed tomography scan, in other words a 3D scan of the jaws, shows how many millimetres of bone you have in height and width exactly where the implant would go, as well as the path of the inferior alveolar nerve, the structure that gives sensation to the lip and chin. Without this measurement, choosing the implant would be guesswork.
At the end you leave the surgery with concrete information about the number of implants needed, the system used, whether you need an extraction, bone augmentation or gum treatment beforehand, the approximate number of appointments and the time until the final restoration. If you also want to understand the differences between commonly used systems, the page on the Neodent dental implant explains what this type of implant involves.
X-ray and 3D scan of the jaws
A CT scan shows the bone in three dimensions, whereas a panoramic X-ray flattens it into a single flat image. A panoramic X-ray shows whether there is an impacted tooth, an infection at the tip of a root or a large difference in bone height, but it cannot measure the thickness of the bone from cheek to tongue. Yet it is precisely this thickness that decides whether the implant will fit or whether augmentation is needed.
The length and diameter of the implant are determined on the basis of the scan. In an area with tall, wide bone a standard implant is used, while where the nerve or the maxillary sinus limits the space, a shorter or narrower implant is chosen or a bone augmentation procedure is planned. The image is also used to check the distance from the neighbouring teeth, which must be maintained so that the bone between them stays healthy.
One step that greatly improves the safety of the procedure is digital planning. The position, angle and depth of the implant are determined on a computer, on the 3D model of your jaw, before the doctor touches the tissue. In cases that require maximum precision, a surgical guide can even be made – a piece that sits on the arch and directs the drilling exactly along the planned path.
Medical tests and conditions that must be kept under control
The tests required before an implant procedure are usually the routine ones: a full blood count, blood glucose, coagulation tests and, on the doctor’s recommendation, glycated haemoglobin for diabetic patients. These are simple investigations that can be done in any laboratory and show whether your body can cope well with minor surgery and the healing that follows.
There are situations in which the procedure is postponed until a problem is brought under control. Poorly controlled diabetes, with high and fluctuating blood sugar levels, slows healing and increases the risk of infection. Bisphosphonate treatments, frequently prescribed for osteoporosis, affect the way bone repairs itself and require a discussion with your GP or specialist. Heavy smoking reduces circulation in the gums and remains one of the factors that most often affects the outcome.
Declare from the start all the medicines you take regularly, especially anticoagulants, corticosteroids and cancer treatments, even if they seem unrelated to your oral health. This information changes the protocol; it is not an automatic reason for refusal. The situations in which treatment cannot be carried out or is postponed are explained in detail in the article on when a dental implant cannot be placed.
Treating the mouth before the procedure
Treating the mouth means resolving all the active problems in your mouth before the implant is inserted. Cavities are treated, compromised roots are extracted, and if there is gum disease – inflammation and recession of the tissue that holds the teeth – it is treated separately and brought under control before any surgery.
Professional cleaning is part of the preparation, not a formality. Scaling and professional brushing remove the bacterial plaque and tartar that keep gum inflammation going, so that the area being worked on starts from the lowest possible bacterial level.
The reason is easy to understand. Inflamed gums bleed, harbour bacteria and send this environment straight to the bone in which the implant is meant to integrate, which increases the risk of post-operative infection and integration failure. An implant placed in a mouth with untreated periodontitis has much lower chances of lasting in the long term than one inserted in a clean environment.
Preparatory procedures that may be needed before the implant is inserted
Preparatory procedures are additional steps that only some patients need, depending on what the examination and 3D scan show. If you have enough bone, healthy gums and the space is already free, you go straight to insertion. If bone is lacking, if the root is still in the arch or if the surrounding soft tissue is thin, there is at least one intermediate stage.
These procedures explain the large differences in duration between two patients who apparently have the same problem. The decision is not based on impressions but on the CT measurements and the clinical examination, and the table below shows what each one adds to the overall timetable.
Source: indicative intervals from the standard clinical implantology protocol, determined for each patient at the 3D imaging assessment.
Extraction of the compromised tooth and healing of the socket
A tooth can no longer be saved when the root has a vertical fracture, when decay has extended far below the gum line and there is no longer any structure to support a restoration, or when an old infection has destroyed the bone around the root. In these cases, extraction becomes the first real step of the treatment.
When the implant is not placed at the same appointment, the socket – the hole left in the bone after the root is removed – needs roughly 2-3 months to fill with new bone and become a stable support, according to the standard clinical implantology protocol. During this time the gum closes over the area and the bone remodels, which means it naturally loses some of its volume.
To limit this loss, socket preservation is performed – a procedure in which, immediately after extraction, the space is filled with graft material and protected with a membrane. The result is bone that is better preserved in width, which makes later insertion simpler and the aesthetic result better, especially at the front of the mouth.
Bone augmentation and sinus lift when the bone is insufficient
Insufficient bone means either bone that is too narrow from cheek to tongue, or bone that is too short in height up to an anatomical structure that must not be touched, such as the inferior alveolar nerve in the lower jaw and the maxillary sinus in the upper jaw. An implant needs bone on all its sides; otherwise the threads remain exposed and integration does not take place properly.
Simple bone augmentation is used to widen or raise the bone ridge locally and can be carried out in any area of the arches. The graft material, synthetic or of processed animal origin, is placed on the deficient area and covered with a membrane that prevents the soft tissue from invading the space. A sinus lift is specific to the upper back area, where the maxillary sinus extends too far down, and its floor is raised to create room for new bone.
Healing of an augmentation adds roughly 4-6 months, while a lateral-approach sinus lift may require up to 8 months, according to the same clinical implantology protocol. There is, however, also a simultaneous option. If the bone deficit is small and the implant has good stability from the outset, augmentation and insertion can be carried out at the same appointment, which eliminates a separate procedure and noticeably shortens the journey. The decision is made on the basis of the CT measurements and, sometimes, only during the procedure itself.
Gum graft for a result that stays stable over time
Attached gum is the band of firm tissue, attached to the bone, that surrounds the tooth or implant and withstands the friction of the toothbrush and the movements of the lip. When this band is missing or very thin, only mobile mucosa remains around the implant, which recedes more easily and allows bacteria to penetrate towards the bone.
Adding soft tissue is recommended when the band of attached gum is narrower than a few millimetres, when the area has suffered recession after an old extraction, or when the gum biotype is thin and lets the metal outline underneath show through. The graft is usually taken from the roof of the mouth and fixed in the area that needs volume.
At the front of the mouth, where everything shows when you speak, this step directly influences the final appearance. Thick, stable gum supports the papillae between the teeth and keeps the gum line at the same level as the neighbouring teeth, so that the final crown does not look longer or out of line after a few years.
How the implant insertion surgery goes
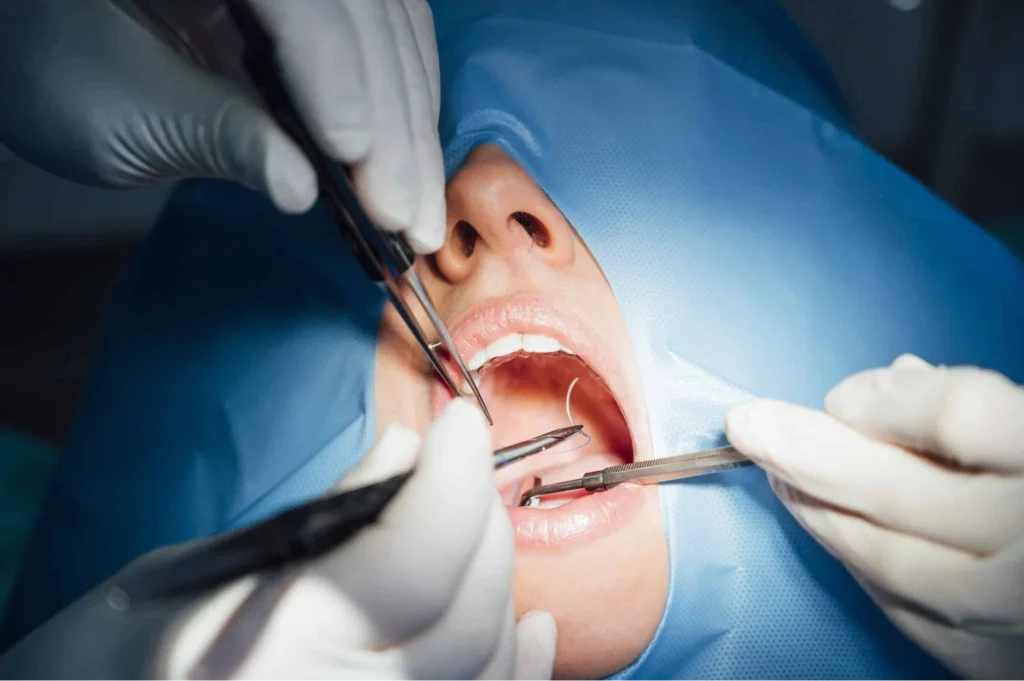
Implant insertion is a minor surgical procedure, carried out under local anaesthesia, which takes roughly 30-60 minutes for a single implant, according to the standard clinical implantology protocol. It is the moment patients fear most and, at the same time, the one that most often surprises them with how bearable it actually is.
The procedure follows a fixed sequence of steps:
- Local anaesthesia is administered in the treatment area and allowed to take full effect.
- The gum is lifted over a small area to expose the bone ridge.
- The site in the bone is prepared with drills of increasing diameter, under constant cooling with saline solution.
- The implant is screwed in at the depth and on the axis determined in the digital plan.
- A cover screw or a healing cap is fitted, depending on the technique chosen.
- The gum is repositioned and the stitches are placed.
Once the anaesthesia has taken effect you feel no pain, but you do perceive pressure, vibrations and the noise of the instruments, and your mouth stays open for a while, which can tire your jaw. If your anxiety is high or several implants are being placed in one appointment, you can opt for conscious sedation, which keeps you awake and cooperative but deeply relaxed. Details of the full dental implant protocol in Pitești can be checked on the dedicated service page before you book your consultation.
When the implant can be inserted at the same appointment as the extraction
Immediate insertion, meaning placing the implant in the socket of the tooth that has just been extracted, is only possible when a few clear conditions are met at the same time:
- There is no active infection or pus in the area of the extracted root.
- The bone walls of the socket are intact, especially the wall on the lip side.
- The implant achieves primary stability, meaning it is firmly anchored in the bone below the tip of the former root.
- The surrounding gum is healthy and has sufficient volume.
The advantages are real. The bone around the socket retains its volume better, a separate surgical procedure is eliminated and, above all, the treatment is shortened by the months that would have been needed for the socket to heal. At the front of the mouth, this approach helps preserve the natural gum contour.
When one of the criteria is missing, waiting 2-3 months is the safer option. An implant placed in infected bone or without firm anchorage has a significantly higher risk of not integrating, and recovering from a compromised situation takes more time than the initial haste would have saved.
The first days after the procedure and removal of the stitches
Swelling of the cheek usually appears in the first 48-72 hours and gradually goes down over about a week, according to the standard post-operative implantology protocol. Discomfort is most pronounced on the first day, once the anaesthesia wears off, and is well controlled with the recommended medication. Small traces of blood in the saliva are normal on the day of the procedure, as is a feeling of tension in the operated area.
In the first week, the rules are concrete and easy to follow:
- Eat soft foods that are cold or at room temperature, avoiding chewing on the operated side.
- Apply cold compresses to your cheek on the first day, 10-15 minutes at a time with breaks, according to standard post-operative instructions.
- Brush the rest of your teeth normally, but avoid the stitched area and use the recommended mouthwash.
- Avoid smoking for at least two weeks, because smoke reduces oxygen supply to the wound.
- Put off the gym, running and lifting weights for a few days, as well as the sauna or swimming pool.
The stitches are usually removed 7-10 days after the procedure, according to the same post-operative protocol, at a short, painless visit at which the way the gum has closed is also checked.
Osseointegration and the months in which the implant bonds to the bone
Osseointegration is the process by which bone cells grow directly on the titanium surface of the implant and anchor it in the bone, turning it into a stable artificial root. It is not a form of gluing and it cannot be accelerated with medication. It is simply new bone being laid down, millimetre by millimetre, at the body’s own pace.
The duration differs depending on the jaw being treated, because bone density is not the same in the upper and lower jaw.
Source: healing intervals from the standard clinical implantology protocol, confirmed by X-ray for each patient before the prosthetic stage.
The process slows down in smokers, in patients with poorly controlled diabetes and where the bone is of poor quality to begin with. Throughout this period you are not left unsupervised, as regular check-ups are carried out to examine the gum, check for the absence of pain and assess, by X-ray, the bone level around the implant. You can find an overview of the intervals for each situation in the article on how long a dental implant takes.
The temporary tooth during the healing period
You won’t be left with a visible gap for months on end. For the front of the mouth there are several temporary solutions: a small removable partial denture, an adhesive bridge bonded to the neighbouring teeth, or a temporary crown screwed directly onto the implant, when the situation allows.
The temporary crown can be fitted immediately after insertion only if the implant has achieved good primary stability, measured during the procedure, if the bone is of suitable quality and if your bite allows the tooth in question to be kept out of contact with the opposite arch.
The basic rule is that the temporary tooth should look good but not take on chewing forces. Repeated micro-movements on an implant that has not yet integrated can prevent bone from being laid down and lead to the loss of the implant, which is why the temporary crown is specially shaped so that it does not touch the opposite tooth when you close your mouth.
Signs that the implant is not integrating properly
The signs that call for a phone call to the clinic are clear and easy to recognise at home, and the time thresholds below follow the standard post-operative implantology protocol.
- Pain that increases after the first week instead of easing.
- A feeling that the implant is mobile.
- Discharge or a persistent unpleasant taste in the area.
- Red, swollen gum that does not settle down after 10-14 days.
- A fever that appears a few days after the procedure.
The difference from normal progress lies in the direction and duration of the symptoms. Ordinary discomfort peaks in the first two days and decreases steadily, the swelling goes down visibly after 72 hours, and the gum regains its colour in about two weeks. Any symptom that gets worse after it had started to improve is worth checking, even if it seems minor.
If an implant really does not integrate, it is removed in a simple manoeuvre, often easier than the insertion. The area is cleaned, graft material is applied if needed, and after a healing period of a few months a new implant can be inserted, usually successfully, because in the meantime the original cause has been identified and corrected.
The prosthetic stage up to the definitive crown
The prosthetic stage begins once osseointegration has been confirmed and covers everything to do with the visible part of the restoration. The order is always the same: uncovering the implant and fitting the healing cap, then fixing the abutment, taking the impression or scan, trying in the restoration and cementing or screwing in the final crown.
As a guide, this part requires 3-5 short appointments spread over 3-6 weeks, according to the usual prosthetic protocol for implants, and in between the dental laboratory steps in, where the technician actually makes the crown based on the impression and the colour and shape specifications. The materials frequently used for an implant crown are zirconia, valued for its strength and natural appearance, and ceramic on a zirconia base for the front of the mouth, where translucency matters most.
The healing cap and shaping the gum
The healing cap is a small, round piece that is screwed onto the implant and emerges through the gum, its role being to prepare the shape of the tissue around the future crown. When the implant has been completely covered by gum, the doctor uncovers it through a small incision, under local anaesthesia, in an appointment lasting just a few minutes.
Over the following weeks, the gum heals around this piece and takes on a circular contour, similar to that around a natural tooth. This emergence profile determines how natural the crown will look where it emerges from the gum, especially at the front of the mouth.
The usual period until the next step is 2-4 weeks, according to the same prosthetic protocol, during which the only special recommendation is to clean the area gently, without avoiding brushing around the cap.
Fitting the abutment
The abutment is the intermediate piece that is fixed with a screw inside the implant and on which the crown will rest. It takes on the role played by the prepared tooth in a conventional restoration and transmits chewing forces from the crown to the implant.
Standard abutments come ready-made, in a few shapes and heights, and work well in the back areas, where aesthetics play a secondary role. Custom abutments are made individually, by milling, to the exact shape of your gum and are preferred at the front of the mouth, where the contour must follow the gum line to the millimetre.
This step is usually carried out without anaesthesia or with a very small amount, because the work is done on the implant and the already shaped gum, not in the bone. At most you will feel brief pressure when the screw is tightened with the torque wrench.
Conventional impression or digital scan
The impression tells the laboratory the exact position of your implant in relation to the neighbouring teeth. In the conventional method, the doctor fits a transfer piece on the implant, places an impression tray with silicone material over the arch and lets it set, so you feel the material in your mouth for roughly 10-15 minutes, according to the impression material manufacturer’s instructions.
If you choose an intraoral scan, instead of the material the doctor moves a small camera over your arches, and the 3D model is built on screen before your eyes, in real time. You avoid the unpleasant sensation if you have a strong gag reflex, the file reaches the laboratory instantly, it does not distort in transit and you can see on the spot whether an area needs to be scanned again.
At this same appointment you choose the shape and colour of the crown together with the doctor. You compare the shade with a colour guide, in natural light, taking your neighbouring teeth into account, and the shape is chosen so that the crown blends into the arch without catching your eye when you look in the mirror.
Try-in and fixing of the definitive crown
At the final try-in, three things are checked: the bite, meaning the way the crown meets the opposite tooth when you close your mouth and when you move your lower jaw sideways; the contact points with the neighbouring teeth, tested with dental floss; and the match in colour and shape. Adjustments are made on the spot, by fine polishing.
Fixing is done in one of two ways. A screw-retained crown is secured directly with a screw accessible through the biting surface, which is then covered with tooth-coloured material, and has the advantage that it can be removed at any time for checks. A cemented crown is bonded onto the abutment and offers a more uniform appearance, but requires care to remove all the residual cement under the gum completely. What each type of restoration involves is described in detail on the page about the dental crown.
In the first days of use, the crown may feel slightly bigger or more prominent than the natural tooth, and your tongue will keep seeking it out. The sensation usually disappears within a week, as you get used to chewing on that side again.
Implant care and regular check-ups
An implant is cleaned every day, just as thoroughly as a natural tooth, but with slightly different tools. Brushing twice a day remains the foundation, and around the implant crown you add an interdental brush of the right size, special dental floss with a stiff end and a spongy section and, optionally, a water flosser for hard-to-reach areas.
Professional cleaning is recommended every 6 months, and for patients with a history of gum disease or for smokers, every 3-4 months, according to the implantology maintenance protocol. At the surgery, instruments compatible with the implant surface are used, which do not scratch the titanium.
At the regular check-up, the stability of the crown is checked, along with the bite (which can change over time as natural teeth wear), the condition of the surrounding gum and, by X-ray, the bone level. A follow-up X-ray at 12 months, provided for by the same maintenance protocol, shows whether the bone around the implant remains at the same level.
Peri-implantitis is the inflammation that affects the bone around the implant and, if left untreated, leads to its loss. It is prevented by correct daily cleaning, regular professional cleaning, giving up smoking and keeping general health conditions under control. Caught early, at the stage of gum inflammation, it is simple to treat, which is why booking an annual check-up at the clinic in Pitești matters more than it may seem.
What the complete timetable looks like and what is worth clarifying at the first consultation
Taken as a whole, the treatment takes roughly between 3 months, in a simple case with enough bone, and 12-18 months, when extraction, bone augmentation and gum shaping are added.
Source: cumulative durations from the standard clinical implantology protocol, calculated for the stages described above and adjusted for each case after the 3D assessment.
A few situations push you towards the shorter end of the range:
- Sufficient, dense bone in the area where the implant goes.
- Healthy gums, with no active inflammation.
- Not smoking.
- General health conditions kept under control.
- The possibility of inserting the implant immediately after extraction.
Other situations lengthen the journey:
- Bone resorbed after years of missing teeth.
- Untreated periodontitis.
- Poorly controlled diabetes.
- Daily smoking.
Before you begin, ask the doctor for a written plan with the number of procedures, the implant system used, what happens if a complication arises and what the alternatives are, from a dental bridge to a removable denture, with the arguments for and against each one in your case.
The stages of a dental implant seem numerous when you read them all at once, but each one has a precise role and, in practice, most of the time is spent waiting at home, not in appointments at the surgery. The difference between a predictable treatment and one full of surprises is made at the start, in the way the bone was measured and the plan was built. An assessment with 3D imaging answers exactly the question that concerns you: in your case, how long it takes and which steps you will go through.
If you are considering a dental implant, book a consultation at the Dr. Radu Dumitru Clinic in Pitești. You will find out which stages are needed in your case, whether you need preparatory procedures and the estimated duration of treatment, before you make a decision.
Images generated with AI